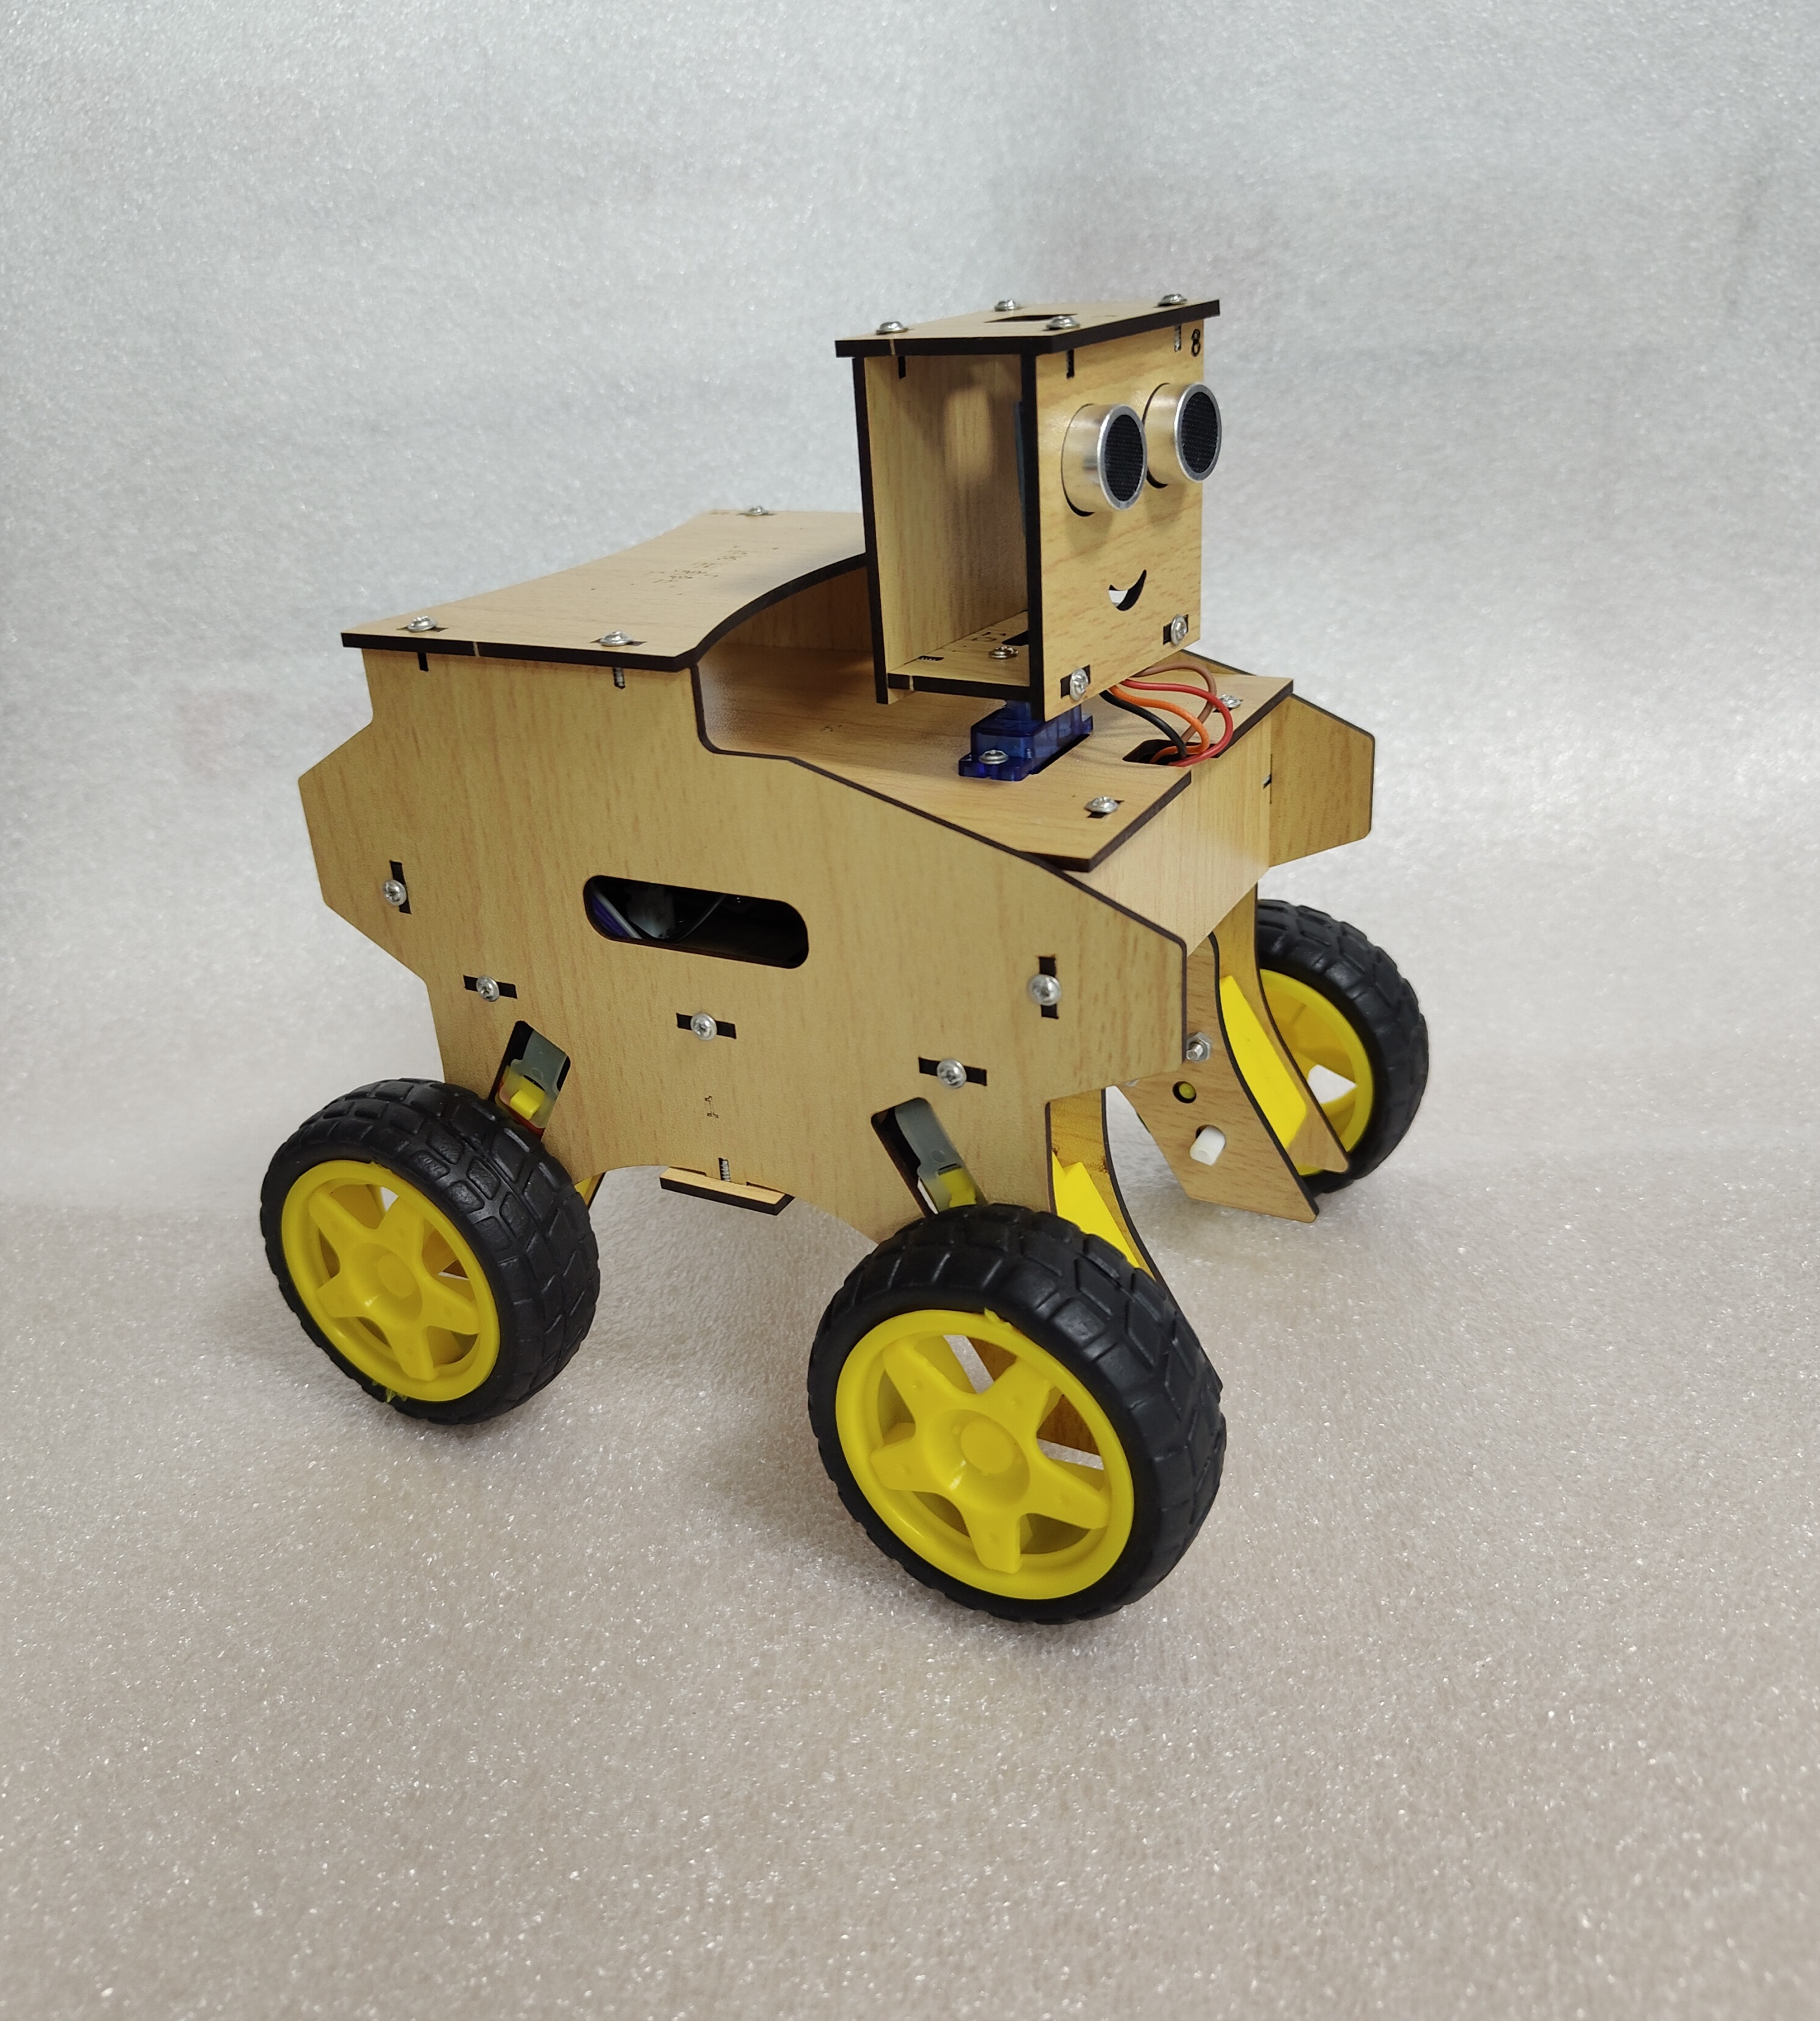
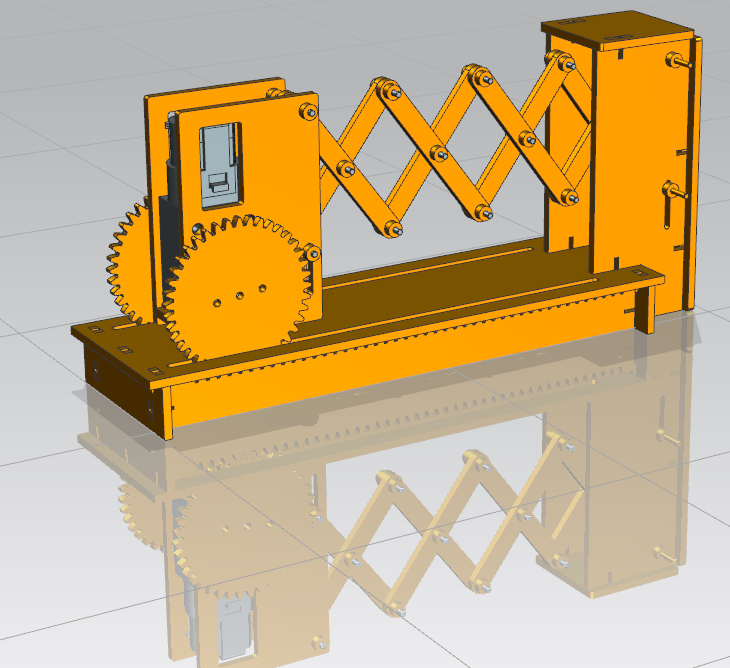
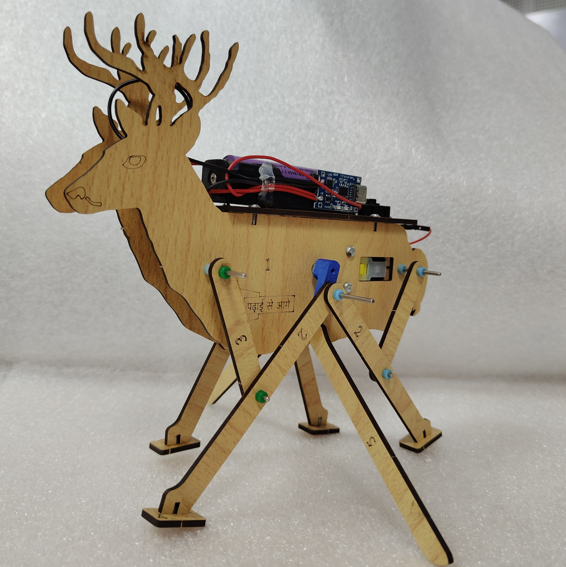
Wiggling Robot
PSA
build your very own Wiggling Bot!
Add ₹900 more for free delivery
Shipping ₹79 · Free at ₹1,500+
Check delivery
Razorpay secure payFree delivery ₹1,500+7-day returns
Shipping & returns FAQ
How long does shipping take?
Standard shipping is ₹79. Free shipping on orders of ₹1500 or more (merchandise subtotal after promo). Delivery typically 5–7 business days across India.
What payment methods do you accept?
UPI, credit/debit cards, and netbanking via Razorpay. Cash on Delivery is not available.
Can I get a GST invoice?
Yes. Add your GSTIN on checkout (optional). After payment you can print a receipt; for a full GST tax invoice with HSN, email support with your GSTIN and order id.
What is your return policy?
Unopened kits may be returned within 7 days of delivery. Opened educational kits are exchange-only for manufacturing defects. Contact support with your order id.
Is checkout secure?
Yes. Payments are processed by Razorpay over HTTPS. We never store your full card details on PSA servers.
Free delivery on merchandise subtotal ₹1,500+. See shipping & returns.
About This Kit
What's Included
Parts checklist will appear here once published for this kit.
Learning Outcomes
Learning outcomes will be listed when available for this kit.
Build guide (10 steps)
Production Tools and Materials to be Prepared
Wooden Sheets: (Robot's Body Parts - Look for numbers 1, 2, 3, 4, 5 on them!) 6: Screwdriver (Our Helper Hand) 7: Batteries (Robot's Food) 8: Motor (Robot's Muscle) 9: Battery Box (Food Box) 10: Metal Shafts (Robot Axles - 1 Long, 3 Standard) 11: Switch (On/Off Button) 12: Blue Spacers (Axle Stoppers - Don't lose them!) 13: Orange Wheels (Rover Tires) 14: Yellow Pulleys & Rubber Bands (Power Belts) 15: Screws (Tiny Pins)
The Energy Test!
Action: Waking up the engine. Let's test the robot's heart! 1. Load Fuel: Insert the batteries into the Battery Holder. 2. Connect: Connect the wires from the Motor and the Switch to the battery holder. 3. Check: Flip the switch. Is the motor spinning? Success! 4. Safety: Now, remove the batteries before we start building.
Building the Body & Power Base!
Action: Assembling the skeleton and securing the energy station. 1. Skeleton: Find Part 4 and the two pieces labeled Part 2. Attach them together firmly using your Screwdriver and screws. 2. Backpack: Now, mount the Battery Holder (Energy Sta on) onto the wooden assembly and lock it tight with two small screws.
The Engine Room!
Action: Mounting the Motor. 1. Find Parts: Locate the two Part No. 1 wooden pieces. 2. Align: Place them on both sides of the BO Motor. 3. Critical Check: Ensure the small square holes on both parts are point ng in the same direction. 4. Lock: Secure them with screws.
Joining the Body!
Action: Connecting the front and back. 1. Combine: Take the parts from Step 3 and Step 4. 2. Axle Up: Connect them using a Standard-Sized Shaft. 3. Space it Out: Place one Blue Sleeve (Spacer) on each side of the shaft. 4. Position: Make sure the square holes from Step 4 are facing downward.
The Roof & The Brain!
Action: Closing the body and wiring. 1. Roof: Place Part 5 on top of the body and screw it down tight using your screwdriver and screws. 2. Switch: Fix the Switch into the circular slot on Part 5. 3. Wire Tuck: Make sure the wires are tucked under the BO motor so they don't get tangled in the wheels later!
The Axles!
Action: Preparing the drive shafts. 1. Find the Shafts: Look for your metal rods. You will use the Longest Shaft first. 2. Long Shaft : Insert the Longest Shaft into the center hole that goes right through the yellow BO Motor. 3. Lock it: Slide a Blue Sleeve (Spacer) onto each end of the long shaft to fix it in place so it cannot slide out.
Completing the Frame Axles!
Action: Installing the remaining drive shafts. 1. Standard Shafts: Find your Standard-Sized Shafts. Slide them through the holes at the front and back ends of the wooden robot body. 2. Final Lock: Just like before, install Blue Sleeves on both ends of these sha s as shown in the picture. 3. Check: Make sure all axles are centered. A straight skeleton makes for a smooth wiggle!
The Pulley & Belt System!
Action: Powering up the drive. 1. Motor Pulleys: Slide the yellow Pulleys onto the motor shaft on both sides. Secure them firmly using the appropriate screws. 2. Rubber Power: Take your Rubber Bands. Stretch one band from the yellow pulley over to the blue spacer on the front-most axle. Repeat this on the other side. 3. Check: Make sure the bands are sitting straight and are tight enough to turn the axle when the motor spins.
Wheels & Wiggle Linkage!
Action: Final assembly and powering up. 1. All Wheels: Push your four Orange Wheels onto the ends of the front and back axles. Make sure they can spin freely! 2. Linkage Bars: Find the wooden pieces labeled Part No. 3. These are your side guards. Slide them onto the axles to connect the front part of the robot to the back. 3. Lock it: Use Blue Sleeves on the very ends of the axles to hold Part 3 and the wheels securely in place. 4. Fuel Up: Insert your 2 Batteries into the energy station. Match the (+) and (-) signs exactly so the power flows the right way!