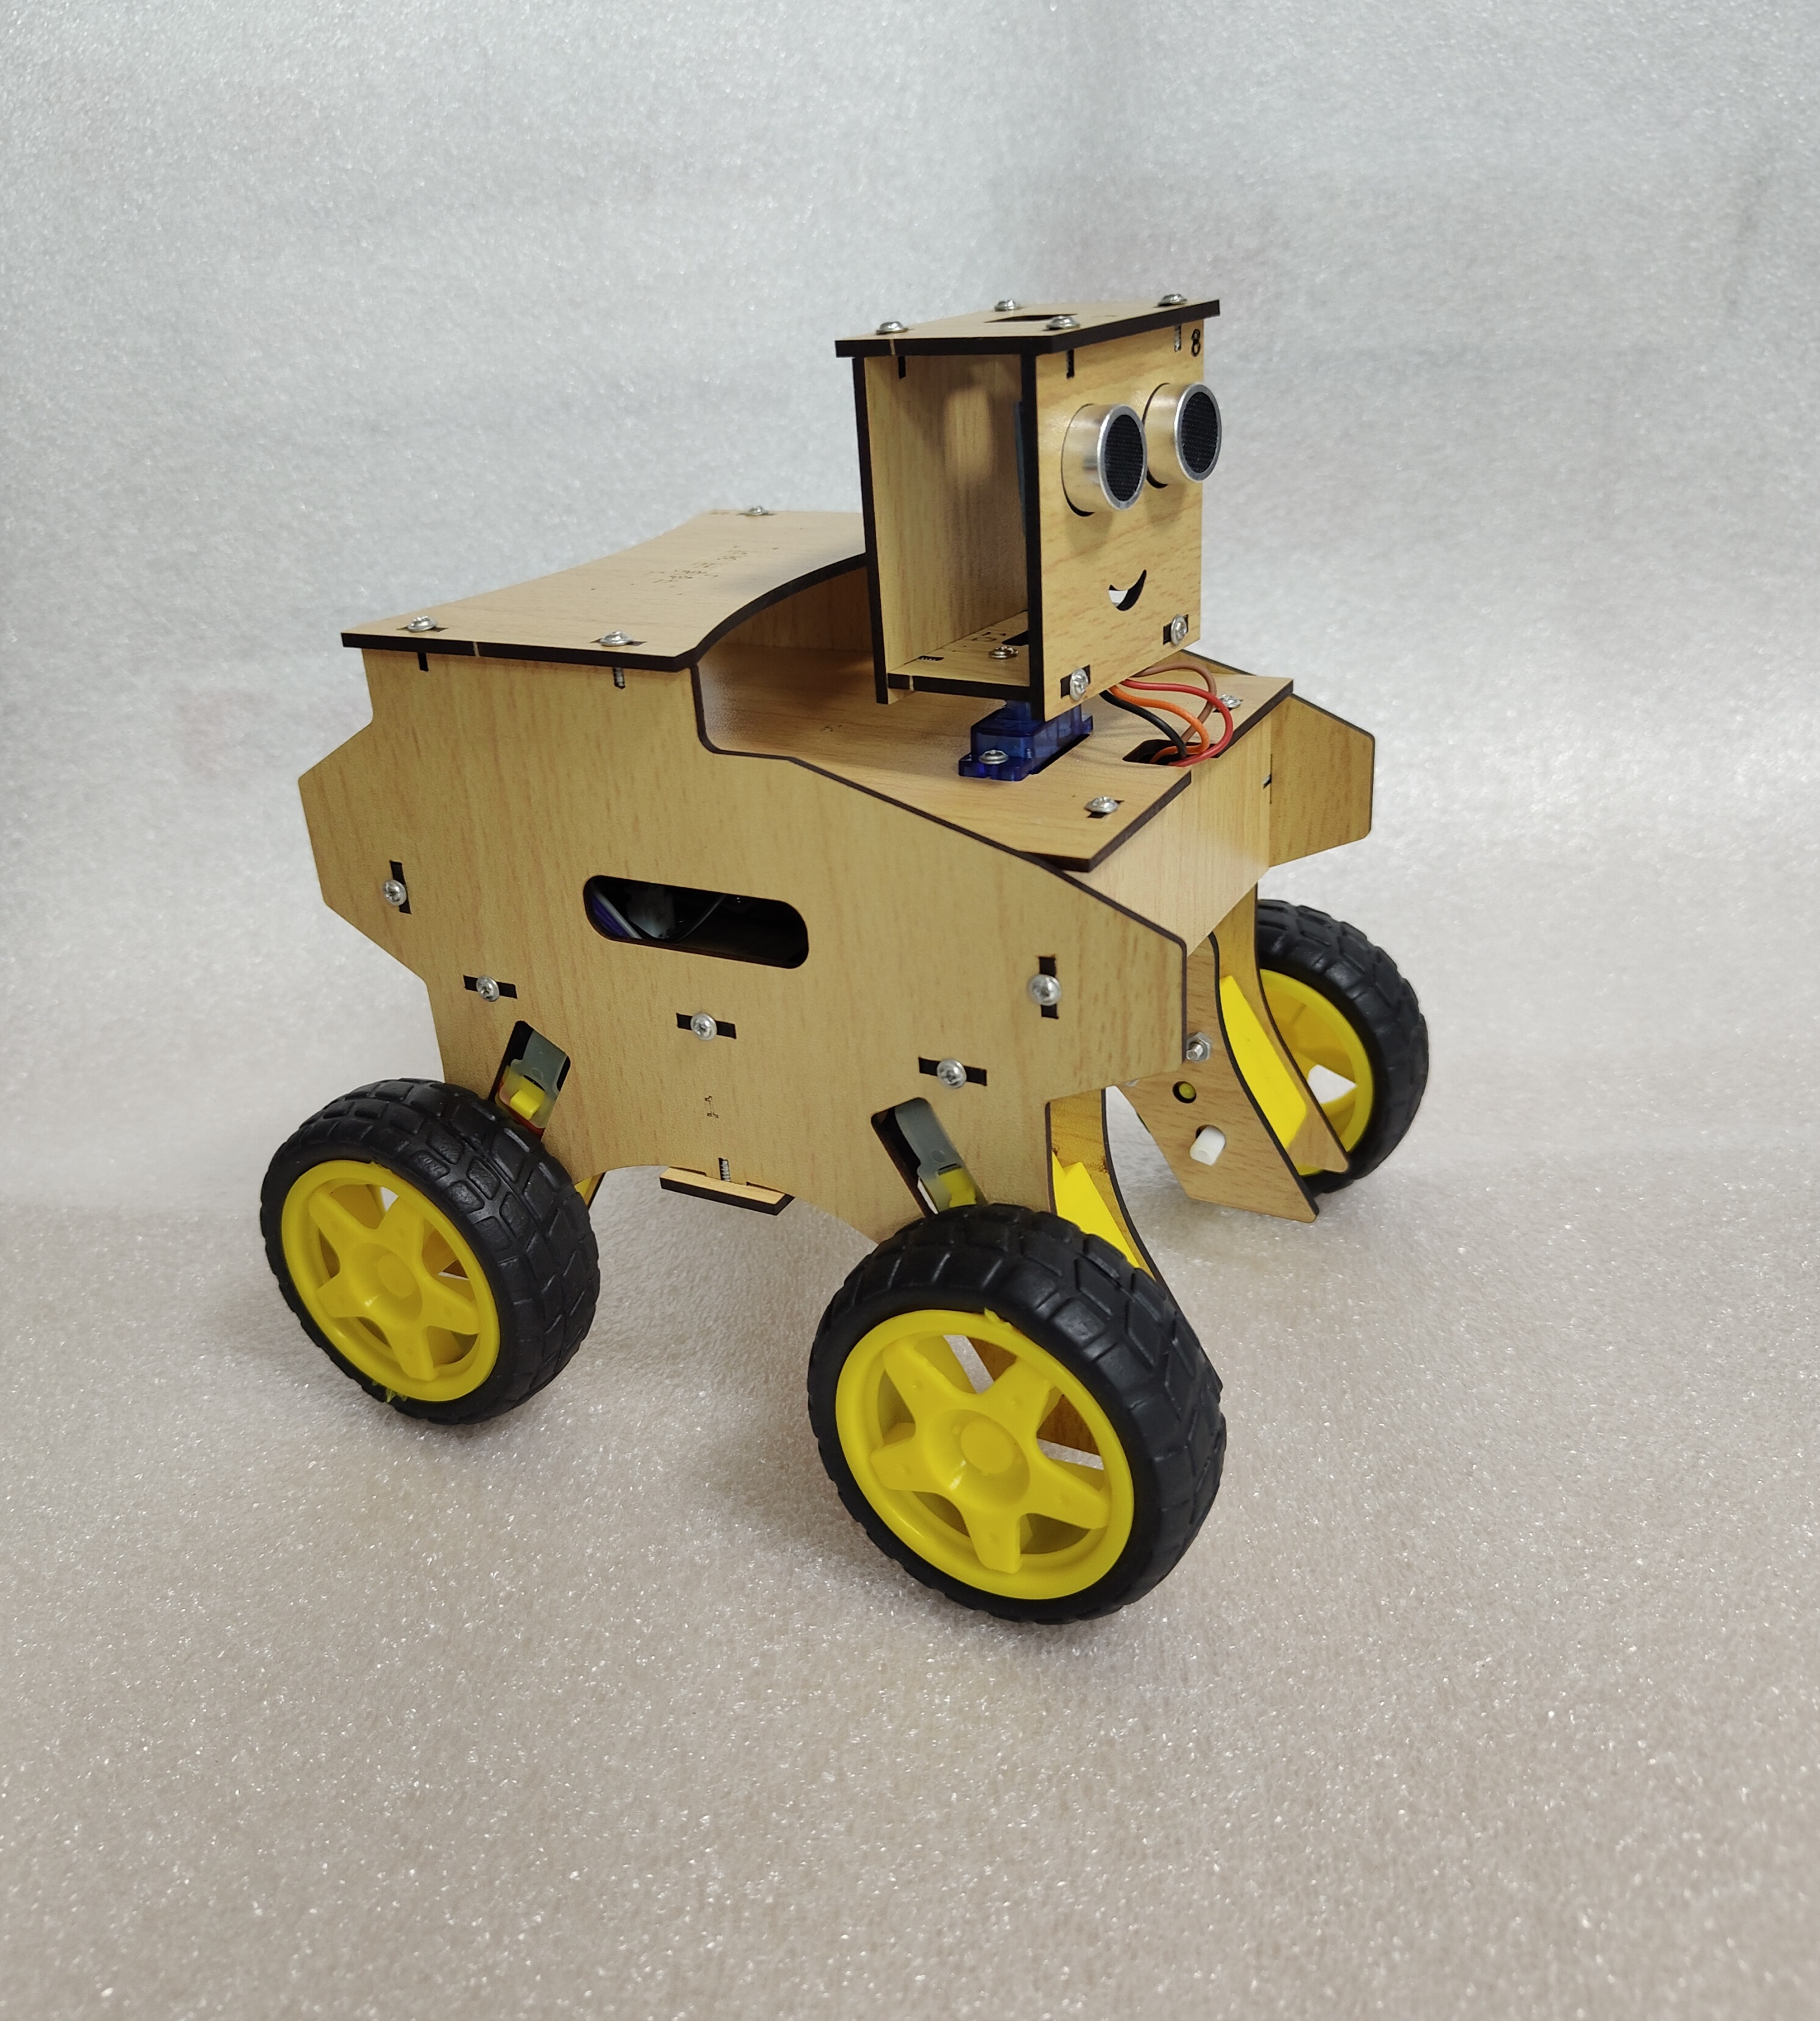
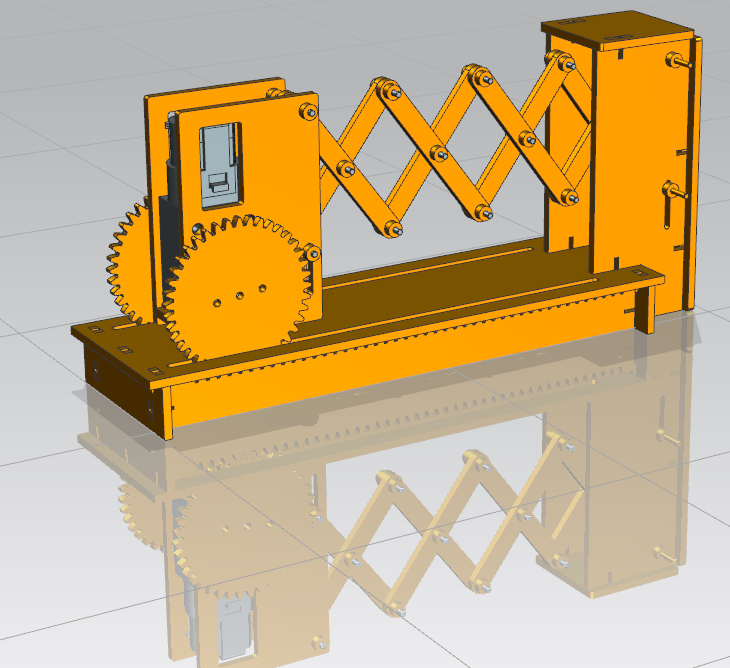
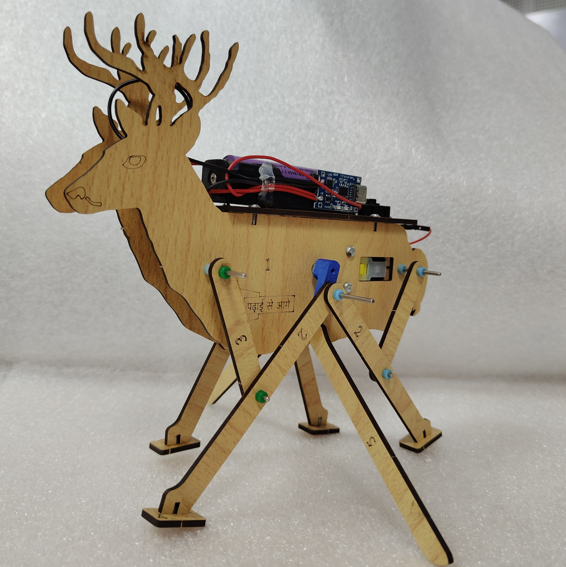
Jumping Robot
PSA
The Jumping Robot isn't just a toy; it is a child's first lesson in Kine cs. It answers the ques on: 'How do we make things walk without wheels?' By building this, students stop seeing ba eries as 'magic' and start understanding them as 'fuel' for their creations. These high-quality 3D wooden puzzles feature precise laser-cut components.
Motion Mechanics
Skill practiced while building this kit.
Basic Circuitry
Skill practiced while building this kit.
Using Tools
Skill practiced while building this kit.
Structural Stability
Skill practiced while building this kit.
Add ₹900 more for free delivery
Shipping ₹79 · Free at ₹1,500+
Check delivery
Razorpay secure payFree delivery ₹1,500+7-day returns
Shipping & returns FAQ
How long does shipping take?
Standard shipping is ₹79. Free shipping on orders of ₹1500 or more (merchandise subtotal after promo). Delivery typically 5–7 business days across India.
What payment methods do you accept?
UPI, credit/debit cards, and netbanking via Razorpay. Cash on Delivery is not available.
Can I get a GST invoice?
Yes. Add your GSTIN on checkout (optional). After payment you can print a receipt; for a full GST tax invoice with HSN, email support with your GSTIN and order id.
What is your return policy?
Unopened kits may be returned within 7 days of delivery. Opened educational kits are exchange-only for manufacturing defects. Contact support with your order id.
Is checkout secure?
Yes. Payments are processed by Razorpay over HTTPS. We never store your full card details on PSA servers.
Free delivery on merchandise subtotal ₹1,500+. See shipping & returns.
About This Kit
What's Included
Parts checklist will appear here once published for this kit.
Learning Outcomes
Safety
- Before we start our building mission, let’s remember these Important Rules: Teamwork Power: Always ask a grown-up to be your helper! Their hands are strong and great for tight screws. Not for Tasting: We have many tiny parts (like screws). Please keep them on the table, never in your mouth! Be Gentle: The wires are like our robot's veins. Treat them with care and don't pull them too hard. Ask for Help: If something feels tricky or sharp, stop and tell your grown-up right away! Stay safe and have fun!
Build guide (10 steps)
Check if you have all these parts!
6: Screwdriver (Our Helper Hand) 7: Batteries (Robot's Food) 8: Motor (Robot's Muscle) 9: Battery Box (Food Box) 10: Wires (Robot's Veins) 11: Switch (On/Off Button) 12: Yellow Feet Spacers (To Help Legs Move) - If your kit has these and they are used. 13: Small Screws (Tiny Pins) 14: Long Screws & Nuts (Long Pins) 15: Tiny Screws (Even Smaller Pins) Wooden Sheets: (Robot's Body Parts - Look for numbers 1, 2, 3, 4, 5 on them!)
Preparing the Magic Button!
· Action: Hooking up the switch. Let's connect the robot's brain! 1. Find the separate Red Wire (10) and the Switch (11). 2. Look closely at the switch—do you see the tiny holes on its metal feet? 3. Poke the shiny end of the Red Wire through one of those holes. 4. Twist, Twist, Twist! ️ Wrap the wire around the metal foot 3 or 4 times. Make it tight so it holds on strong! Tiny Theory: This switch is like a drawbridge. When we press it, the bridge closes, and electricity can run across to make the robot jump!
Complete the Loop!
1. Take the Red Wire from your switch and snap it into one side of the yellow motor. 2. Take the Black Wire from your battery box and snap it into the other side of the motor. 3. Check your wires—they should all be holding hands now!
Let's build the robot's body!
1. Find the two wooden pieces with the number 3 printed on them. 2. Place your Yellow Motor (Part 8) right in the middle of these two pieces. 3. Slide the Long Screws (Part 14) through the holes and twist on the nuts to lock it tight!
Let's finish the robot's head!
1. Take the small wooden (Part 5) plate and place it on top of the body. 2. Use your Screwdriver (Part 6) to twist the Small Screws (Part 15) into the holes. 3. Remember: Turn it to the right to make it tight!
Let’s make the robot strong!
1. Find the rectangular wooden plate with the number 4 on it. 2. Hold it against the back of the robot's body. 3. Use your Screwdriver (Part 6) to twist the Small Screws (Part 15) into the holes.
Let's give our robot a seat for its energy!
1. Take your Battery Case (Part 9) and place it against the back plate of the robot. 2. Reach for the Tiny Screws (Part 15)—the smallest pins in your kit! 3. Use your Screwdriver to fix the battery case firmly onto the wood.
Let's give our robot a strong platform to stand on!
1. Find the large, flat wooden plate with the number 2 and the Padhai se aage logo. This is your robot's base! 2. Slide the body assembly into the rectangular slots on the Base (Part 2). Make sure the wires stay neatly underneath. 3. Flip the robot over and use the Small Screws (Part 15) to fix the body to the base at the four corners.
Let's give our robot some yellow side-guards!
1. Find the bright Yellow 3D-Printed Parts (Part 12). We can call these our robot's "side hands." 2. Place them into the slots on the sides of the wooden body. 3. Use Screw No. 13 and your screwdriver to pin them in tight on both sides.
Let's give our robot some legs to hop and energy to go!
1. Find the two long wooden legs with number 1 printed on them. 2. Slide them onto the white motor axle on each side. Use Screw No. 13 to pin them in snugly. 3. Now for robot snack time! Open your battery backpack and put in your 2 Batteries. Match the (+) and (-) signs exactly!